


How to Choose the Best Smart Street Light for Your Project?
Choosing a Smart Street Light is not just a matter of comparing wattage or selecting the lowest bid. A road beside a school has different needs from a quiet residential lane or a busy intersection. The right system should provide dependable illumination, fit the pole and power supply, and work with local maintenance capacity. Small details matter. A glare problem at a crosswalk, for example, can reduce comfort even when measured light levels appear adequate.
This guide explains how to evaluate lighting performance, controls, connectivity, durability, and total project cost. Start with the site: note road width, pole spacing, weather exposure, existing infrastructure, and the hours when traffic changes. Then compare photometric data, dimming options, sensor behavior, and communications requirements. Ask vendors for test reports, warranty terms, spare-part availability, and references from comparable installations. Verify claims against project specifications rather than relying on a product brochure. That takes time.
No single model suits every project. A connected fixture may offer useful monitoring, yet add integration work and ongoing support needs. A simpler design may be easier to maintain, but provide fewer operating insights. The trade-off is real, and sometimes the available data is incomplete. With clear criteria and a site-based assessment, project teams can choose a system that balances safety, energy use, reliability, and long-term serviceability.
Define Project Goals and Site Requirements
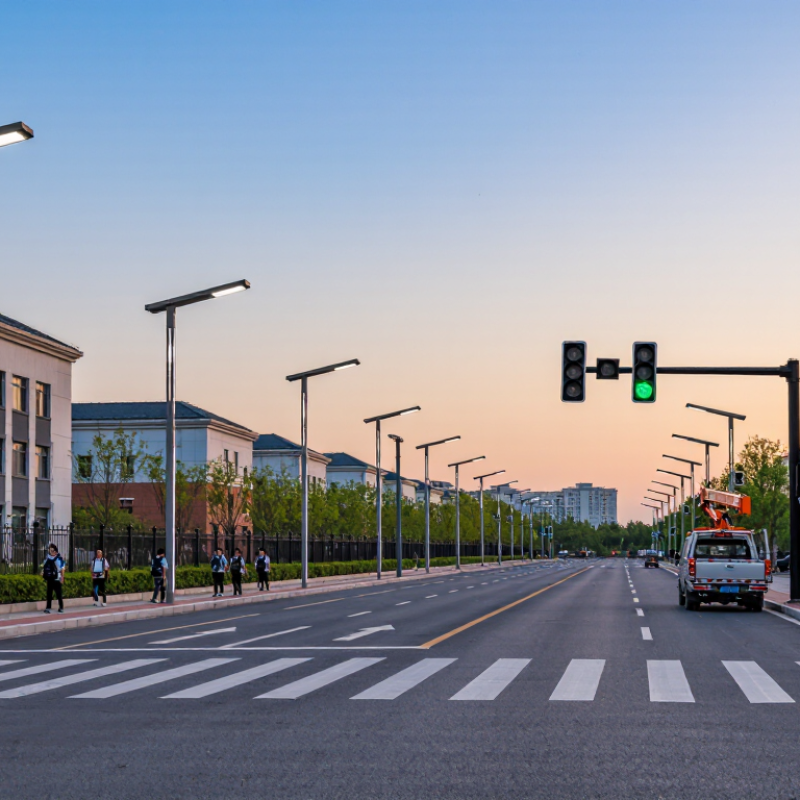
Start by defining what the project must improve: fewer dark zones, lower energy use, quicker fault detection, or safer crossings. Set measurable targets, such as average light levels, acceptable outage time, and a realistic energy budget. Then map the site. Record road width, pole spacing, mounting height, tree cover, and nearby homes before comparing equipment. An open road and a leafy residential street need different optics and dimming schedules. Do not assume existing poles tell the whole story.
Tips: Walk the route after dark, if possible. Note glare, shadows, and places where branches block light. Photograph representative poles and mark them on a simple site map. Small details help prevent costly redesigns.
Also identify who will operate the system and what data they can maintain. Networked fixtures may offer scheduling and fault alerts, but these features matter only if staff can configure them and respond. Check power availability, communications coverage, maintenance access, and expected changes, such as road widening. Leave room for uncertainty: tree growth and construction can alter light patterns. A short pilot on one representative block can reveal issues that drawings miss. Choose requirements that fit real site conditions, not just a feature list.
How to Choose the Best Smart Street Light for Your Project? - Define Project Goals and Site Requirements
Use this planning table to connect project objectives and site conditions with lighting, control, and installation requirements. Confirm final designs against local regulations and a site-specific lighting study.
| Project Dimension | Site Requirement or Data to Collect | Why It Matters | Planning Guidance |
|---|---|---|---|
| Lighting objective | Define whether the priority is road visibility, pedestrian comfort, reduced energy use, improved outage response, or a combination. | The objective determines the lighting design, control strategy, and success measures. | Set measurable targets, such as energy consumption, lighting performance, maintenance response time, or system availability. |
| Road and area classification | Record road type, traffic speed and volume, pedestrian or cyclist activity, conflict areas, and applicable local lighting class. | Lighting criteria vary by road function, user activity, and jurisdiction. | Check the applicable local standard. Common references include EN 13201 in many regions and ANSI/IES RP-8 in North America; use the edition adopted by the authority. |
| Existing lighting conditions | Survey existing poles, luminaires, spacing, mounting heights, electrical circuits, measured light levels, and known dark spots. | Existing infrastructure can affect optical performance, installation cost, and the feasibility of retrofit controls. | Use a site plan and photometric calculations to check illuminance, uniformity, glare, and light trespass before selecting output and optics. |
| Road geometry and surroundings | Measure road width, lanes, curves, intersections, sidewalks, trees, building setbacks, and nearby sensitive locations. | Geometry and obstructions influence pole placement, beam distribution, and unwanted spill light. | Select distribution optics based on the actual layout; assess tree growth and shielding needs where nearby homes or wildlife may be affected. |
| Power availability | Confirm supply voltage, circuit capacity, connection points, earthing, outage history, and electrical inspection requirements. | Power infrastructure determines connection design, installation work, and the suitability of grid-connected or stand-alone systems. | Have a qualified electrical professional verify the supply and protection design. For solar systems, size panels and batteries using local solar data, load, shading, and required autonomy. |
| Climate and environmental exposure | Document temperature extremes, rainfall, dust, humidity, salt air, flooding risk, wind exposure, and potential vandalism. | Environmental conditions affect enclosure selection, materials, corrosion protection, and expected service life. | Specify enclosure and impact protection appropriate to the exposure. Verify stated ingress-protection ratings and operating-temperature limits against the site conditions. |
| Energy and dimming strategy | Estimate operating hours, expected load, tariff structure, and periods when reduced output may be acceptable. | Dimming can reduce energy use, but settings must preserve required visibility and safety. | Define schedules or adaptive rules with minimum output and transition limits based on local requirements and a lighting assessment. |
| Smart-control functions | Decide whether the project needs remote on/off and dimming, fault alerts, energy reporting, asset tracking, or sensor-based control. | Selecting only required functions can simplify commissioning and ongoing operations. | Document required functions, data access, user roles, and failure behavior. Confirm control compatibility with the luminaire and the intended operating platform. |
| Network coverage and cybersecurity | Check cellular or other network coverage, gateway locations, backhaul availability, and the organization's IT security requirements. | Connectivity affects remote management, data reliability, and exposure to security risks. | Test coverage at representative pole locations. Require secure authentication, encrypted communications, controlled access, and a defined software-update process. |
| Maintenance and lifecycle | Identify crew access, pole access method, spare-parts needs, maintenance skills, warranty expectations, and disposal requirements. | Lifecycle costs include installation, energy, inspections, repairs, communications, and eventual replacement. | Compare options using total cost of ownership and require documented maintenance procedures, component availability, and clear warranty terms. |
| Pilot and acceptance criteria | Choose a representative test area that includes typical road geometry, connectivity conditions, and environmental exposure. | A pilot can reveal installation, lighting, communications, and operational issues before wider deployment. | Agree in advance on inspection methods and pass criteria for lighting performance, control response, connectivity, energy reporting, and fault notifications. |
Note: Lighting levels, equipment ratings, and communications requirements are project- and jurisdiction-specific. Verify them with the responsible authority and qualified design professionals.